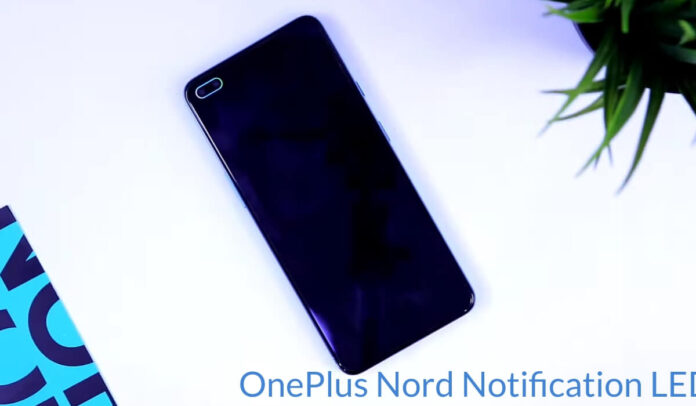
You have just bought a brand-new OnePlus Nord phone, and you are looking for a way to make better use of the dual camera cut-out or punch-hole camera cut-out that comes with the phone. This article will be helpful to you.
This article will show you how to display a nice-looking virtual notification light on your OnePlus Nord camera cut-out. You can apply this feature to any notification your phone gets, including missed calls, unread messages, social media notifications, phone charging, etc.
This setting applies to your Oneplus Nord, Nord 2, Nord N100, Nord N200, Nord CE 5G, Oneplus 9 series, and even OnePlus 11 series phones. The setting applies to any OnePlus phone released after 2019.
Without further ado, Let’s dive in.
How to Set up LED Notification Light on OnePlus Nord
By default, no preinstalled app on your OnePlus Nord phone allows you to use this feature effectively. Therefore, you need to install an app that lets you customize everything properly. Numerous apps help you enable this feature, but two apps stand out; aodNotify and ‘Always on Edge’.
The developers of these apps initially created these apps for Samsung phones, such as the Samsung Galaxy S10, but the app now works on any phone with the hole punch cut-out camera. Here is how to set up everything correctly.
This article only contains how to use the Always-on Edge app. To use the aodNotify app, read our article on enabling LED notifications on Samsung Galaxy S21. If you follow the step there, everything should work similarly to the Always-on Edge app.
Read Also: How to enable Notification Light on Google Pixel 4 and 5
Using Always-on Edge
To get beautiful notification light on your OnePlus Nord phone, follow this step;
Step 1
Head over to the Play store and download the Always-on Edge Lighting (AOE) application, or visit this link. After you’ve finished installing this app, launch the app for the first time, and the app will take you to the page with the interface below.

Step 2
On the app’s homepage, tap Main Settings, which is the first choice. It should send you to a page with a lot of other options. You can check or uncheck anyone you like or dislike, but I recommend leaving the settings as they are in the first column of the screenshots below and saving them. You can choose to zoom in if you can’t see the images.
The app will ask you to enable access permission so that you can allow it from your settings.

Step 3
After completing step 2, go back to the main menu and, this time select App Setting. Here you can confirm when you want to have those LED light notifications on your phone’s camera cut out. These settings are straightforward, and you can select or remove any settings you don’t want.
Alternatively, you can select all the options on the second column of the image above. If you can’t see everything clearly, you can zoom the image. After setting everything as you deem fit, scroll to the bottom of the page and click save.
If you are finding it difficult to set things up, you can watch the video below.
Step 4
Now, Go back to the main menu. Now, click on the Lighting setting. This is the page where things become interesting, and you have to set it properly before the settings start working correctly.
On this page, you can set and alter how the ring of light surrounding your phone’s hole-punch camera cut-out appears and feels. This means you can customize the appearance, colours, and effects of the notification LED lights. Follow these steps to get everything working correctly;
- First, under Lighting Placement, select the Around Notch Only option.
- Next, Enable Notch support and under it select Adjust Manually. This enables you to set everything to your own taste and not be decided by the app.
- Change the Notch width to 197
- Change the Notch Height to 70
- Change curve Radius to 90
- Change top Size to 36
- Change Notch Left size to 64
- Finally, select the Notch to left
Step 5
Under the App settings, you also got other options to make the notification light beautiful and to your taste.
- Edge Style – you can select whatever style you want like LED, Tiles, Follow, stable, flicker and warm.
- Edge Color Amount – you can select the number of colours you want, rainbow, colour spectrum wave, one colour, two colours and so on.
- Lighting Effect- You can select the lighting effect, like normal, Glow, and Dashed
- Edges Speed- This lets you select the speed at which the image is displayed in whatever animation you have chosen
- Lighting Mode – you can select the continuous mode or intermittent mode. I’d advise you to select continuous and not intermittent because the intermittent mode might drain your battery.
- Finally, click on Save.
Step 6
Go back to the Main Menu and select Enable Apps. Here you will find all the apps installed on your device. Simply select all the apps you want to use these LED notification lights. You can choose any kind of app, including message apps and social media apps.
That’s pretty much it. If you follow the procedures correctly, everything should work perfectly. If you encounter any problems, let me know in the comment box below.


